


Laying tile or flooring over TuffTier ™ OSB subflooring can be a great way to add beauty and durability to your home. With the right tools and techniques, you can achieve a professional-looking finish that will last for years. Here’s a step-by-step guide to help you get started.
- Prepare the subfloor.
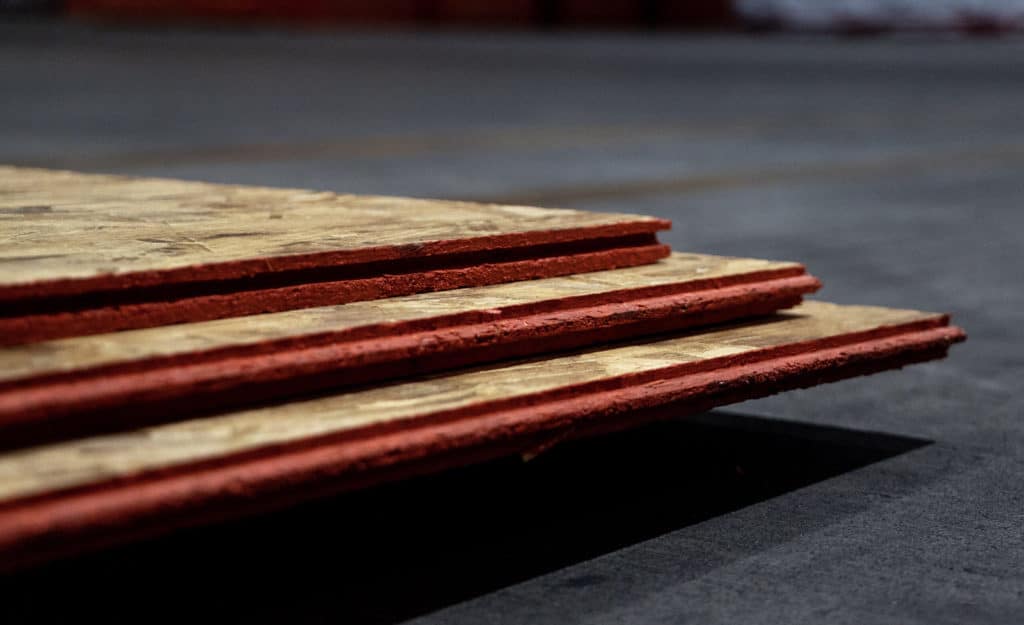
Before you begin laying tile or flooring, properly preparing the TuffTier™ OSB subflooring is essential. Start by removing any debris, dirt, or dust that may be present on the surface. Next, check for any loose or damaged boards and replace them as needed. Finally, ensure the subfloor is level and smooth by sanding down any high spots and filling any low areas. A level subfloor is essential for achieving a professional-looking finish, as it ensures your tiles or flooring will be even and not have any wobbles or gaps.
- Place an underlayment on top of the OSB.
Before applying adhesive and laying the tiles or other flooring, it’s necessary to add an extra layer of protection by placing an underlayment, such as cement board or even plywood, over the TuffTier™ OSB subflooring. In some climates a moisture barrier, in addition to the underlayment, is required. Consult your local building codes to determine if this will be necessary for your project. The underlayment will need to be adhered to the OSB with a thin set and screws. The underlayment is crucial to the project since the tile will not adhere properly directly to OSB and will move or even come up over time if not installed properly. It is essential before moving to the next installation step that you patch any low spots and level with a leveling compound.
- Choose the right adhesive.
When laying tile or flooring over TuffTier ™ OSB subflooring, selecting the right adhesive, or thin set, for the job is crucial. Look for a high-quality, waterproof adhesive designed specifically for OSB subflooring. The correct adhesive will help ensure your tiles or flooring stay in place and don’t shift over time. A poor-quality adhesive can lead to your tiles or flooring shifting or cracking over time, which can be costly and time-consuming to fix. Always be sure to refer to the manufacturer’s installation instructions before applying the adhesive.
- Lay the tiles or flooring.
Once you’ve prepared your subfloor, and have your adhesive ready, it’s time to start laying your tiles or flooring. Begin by laying out your tiles or flooring in a dry run to ensure everything fits properly and looks how you want it to. At this time, make any necessary cuts to your tiles or flooring to ensure they fit correctly around corners or edges. Once satisfied with the layout, apply the adhesive to the subfloor in small sections, starting in one corner and working your way across the room.
- Set the tiles or flooring.
With the adhesive applied, it’s time to start setting your tiles or flooring in place. You’ll want to refer to the manufacturer’s instructions for specific instructions before you install. Begin in the corner where you started applying the adhesive and work your way outward, pressing each tile or piece of flooring firmly into the adhesive. Use spacers to ensure your tiles or flooring are evenly spaced and aligned. By doing so, your tiles or flooring will have a clean and professional look once the job is complete.
- Grout the tiles (if applicable).
If you’re laying tiles, you’ll need to remove any spacers present and grout the spaces between them once the adhesive has dried. Follow the manufacturer’s instructions for mixing and applying the grout, and be sure to wipe away any excess grout before it dries. This will help ensure a clean and even look for your tiles.
- Finish the job.
Once your tiles or flooring are in place and any grout has dried, it’s time to finish the job. Apply a sealant to the tiles or flooring to help protect them from moisture and wear. This will help ensure your tiles or flooring last for years and maintain their beautiful finish.
Following these simple steps, you can achieve a beautiful and durable finish when laying tile or flooring over TuffTier ™ OSB subflooring. With a little patience and attention to detail, you’ll be able to enjoy your new flooring for years to come. Remember that it’s the entire floor system that supports the tile and not just the OSB. If you’re in the process of selecting a type of subfloor, learn more about TuffTier™OSB subflooring and its benefits here: https://royomartin.com/product/tufftier-osb-sub-flooring/